Introduction to Laminate Flooring
What is Laminate Flooring?
Laminate flooring is a synthetic flooring product that mimics the appearance of wood, stone, or tile. It consists of multiple layers fused together through a lamination process. The top layer is a high-resolution photo of wood or other materials, protected by a clear wear layer.
Why Laminate is a Popular Choice
Laminate is budget-friendly, durable, and relatively easy to install. It’s a go-to for DIYers because of the click-lock design that eliminates the need for glue or nails. Plus, it offers a high-end look without the high-end price tag.
Tools and Materials You’ll Need
Essential Tools Checklist
Before diving into the installation, make sure you have these handy:
- Tape measure
- Utility knife
- Spacers
- Rubber mallet
- Pull bar
- Tapping block
- Circular saw or jigsaw
- Safety glasses
- Pencil and straight edge
Choosing the Right Laminate
Pick a laminate that fits your lifestyle. Have pets or kids? Go for something with a high AC (abrasion criteria) rating. Want a rustic look? Consider textured or hand-scraped styles.
Preparation is Everything
Clear the Room
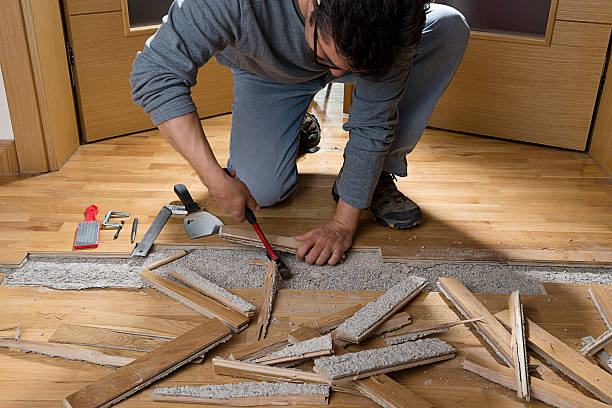
Start by removing all furniture, rugs, and obstacles from the room. If you’re replacing old flooring, take that up too. The subfloor must be clean, dry, and level.
Acclimate the Flooring
Let your laminate sit in the room for at least 48 hours. Why? Because laminate can expand or contract based on temperature and humidity.
Check the Subfloor
Use a level to check for uneven spots. If needed, fill dips with floor-leveling compound. A smooth subfloor ensures your laminate won’t creak or buckle later.
How to Plan the Layout
Decide Starting Point
Most pros start laying laminate along the longest wall in the room, or the wall that’s most visible when you enter. This creates a clean, professional look.
Measure Twice, Cut Once
Figure out how many rows you’ll need. Avoid having a narrow strip on the final row—you may need to cut the first row to ensure a balanced layout.
Installing the Underlayment
Do You Need Underlayment?
If your laminate doesn’t come with an attached underlayment, you’ll need to install one. It helps with sound reduction, insulation, and minor subfloor imperfections.
How to Lay It Properly
Roll it out perpendicular to your planks, trim it to fit, and tape the seams together. Don’t overlap it!
Step-by-Step Guide to Laying the Laminate
Start with the First Row
Place spacers along the wall to maintain a ¼ inch expansion gap. Lay the first plank with the tongue side facing the wall, then click in the next plank.
Stagger the Planks
Don’t line up the seams like bricks. Stagger the ends by at least 12 inches for strength and appearance.
Snap and Click—The Right Way
Use a tapping block and mallet to ensure tight joints. If a plank doesn’t click in right, take it out and try again. No shortcuts here.
Cutting the Laminate Planks
Tools for Cutting
A circular saw, jigsaw, or laminate cutter works great. For curves or notches, a jigsaw gives you more control.
How to Measure and Mark
Use a pencil and square to mark cuts. Always cut with the decorative side facing up to avoid chipping.
Dealing with Doorways and Tricky Areas
Undercutting the Door Jamb
Instead of awkward cuts, use a flush-cut saw to trim the bottom of the door jamb. This way, the plank slides neatly underneath.
Shaping the Planks
Measure twice, then use a jigsaw to shape the planks around obstacles like vents or pillars.
Fitting the Final Row
Why Spacers Matter
Don’t forget those ¼ inch gaps! They allow the floor to expand and contract without buckling.
Precision Trimming Tips
Use a pull bar to fit the last row snugly. A circular saw or table saw will help you cut planks lengthwise.
Installing Baseboards and Molding
Nail or Glue—What’s Better?
Nailing is preferred, as it allows for future removal. Don’t attach the trim to the floor—only to the wall!
Caulking for a Clean Finish
Apply a thin bead of caulk where the molding meets the wall for that professional, magazine-worthy finish.
Cleaning Up After Installation
Removing Debris
Vacuum up dust and remove spacers. Wipe the floor down with a dry mop—no wet cleaning yet!
First Cleaning and Maintenance Tips
Wait at least 24 hours before wet-mopping. Stick to laminate-friendly cleaners like those from Bona or Bruce.
Common Mistakes to Avoid
Rushing the Job
Trying to finish everything in one go might sound great, but don’t skip steps. Proper prep and patience make all the difference.
Skipping Expansion Gaps
Laminate needs space to breathe. No gaps = buckled floors. Always use spacers.
How to Maintain Your New Floor
Cleaning Dos and Don’ts
Do use a dry or damp mop. Don’t steam clean. Never let water pool on the floor. Moisture is laminate’s worst enemy.
Long-Term Care Tips
Use furniture pads, clean spills ASAP, and avoid walking in stilettos or cleats on your new floor. Simple stuff, but it keeps your floor looking great for years.
Conclusion
Installing laminate flooring in one weekend is totally doable—as long as you plan, prep, and pace yourself. With the right tools and a can-do attitude, you can transform any room into a fresh, stylish space that looks professionally done. So go ahead—roll up your sleeves, blast some tunes, and let’s lay down those planks!
Frequently Asked Questions (FAQs)
1. Can I install laminate flooring over carpet?
Nope. You need a hard, flat surface. Rip out that carpet first!
2. How long does it take for laminate to acclimate?
Usually 48 hours, but always check the manufacturer’s recommendation.
3. Do I need to glue laminate flooring?
Not for click-lock types. They snap together without glue.
4. Can I use laminate flooring in bathrooms?
It’s risky. Bathrooms are moist areas. Consider waterproof vinyl instead.
5. What’s the difference between laminate and vinyl plank flooring?
Laminate has a fiberboard core and feels more like wood. Vinyl is waterproof and flexible.
